The Complete Guide to Printing Coloring Pages at Home
You've downloaded a coloring book, opened the PDF and hit print. Then the lines come out pale, the page curls, or your marker soaks through to the next sheet.
Printing coloring pages at home is easy once you know four things: which paper to use, which settings to change, how to spend less ink, and how to fix the usual problems. This guide covers all four, in the order you'll need them.
01Before you print: check your file
Open the PDF and look at the first page. Digital coloring books usually come as standard-size PDFs, so every page should print cleanly on regular A4 or US Letter paper.
Two quick checks save a lot of wasted paper:
- Print one page first. Don't send all 39 pages at once. A single test page shows you the line quality, margins and paper behavior.
- Look at the print preview. Make sure the artwork isn't cropped at the edges.
02Step 1: Choose the right paper
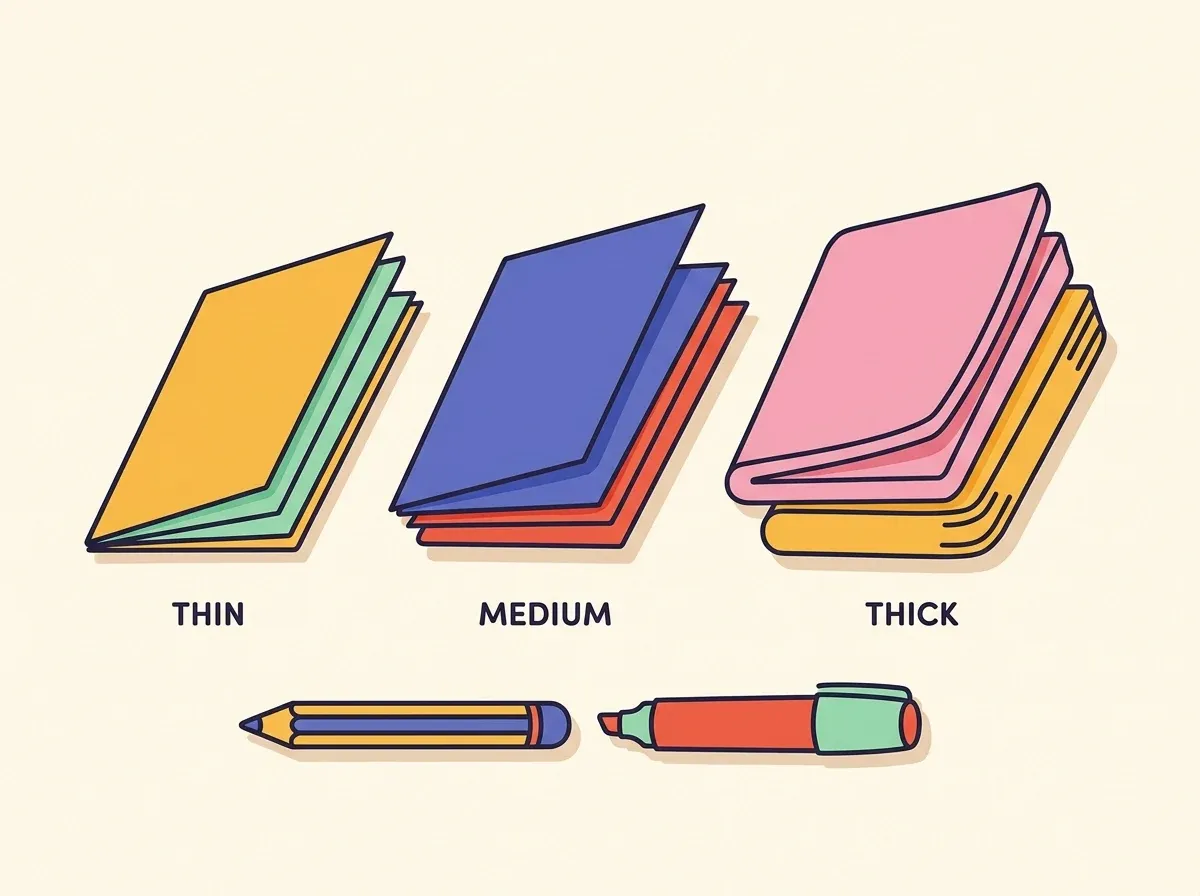
Paper decides how your finished page looks and feels more than any other factor. Paper weight is measured in gsm (grams per square meter). In the US it's often given in pounds, where standard copy paper is about 20 lb.
| Paper | Approx. weight | Best for | Watch out for |
|---|---|---|---|
| Standard copy paper | 75-80 gsm | Crayons, colored pencils, quick practice pages | Markers bleed through |
| Heavier printer paper | 90-120 gsm | Pencils, gel pens, light marker use | Check your printer supports it |
| Light cardstock | 160-200 gsm | Markers, display pages, gifts | Some printers jam on thick stock |
| Marker or mixed-media paper | 150+ gsm | Alcohol markers, blending | Check it's labeled printer-safe |
Our recommendation: Start with 90-120 gsm paper. It costs little more than regular copy paper, resists curling, and handles pencils and most markers well.
Before buying cardstock, check your printer's manual for the maximum paper weight it accepts. Pushing thick stock through a printer that can't handle it is a common cause of jams.
03Step 2: Set up your printer
Open the print dialog and look for these settings. Names vary between brands, but the ideas are the same.
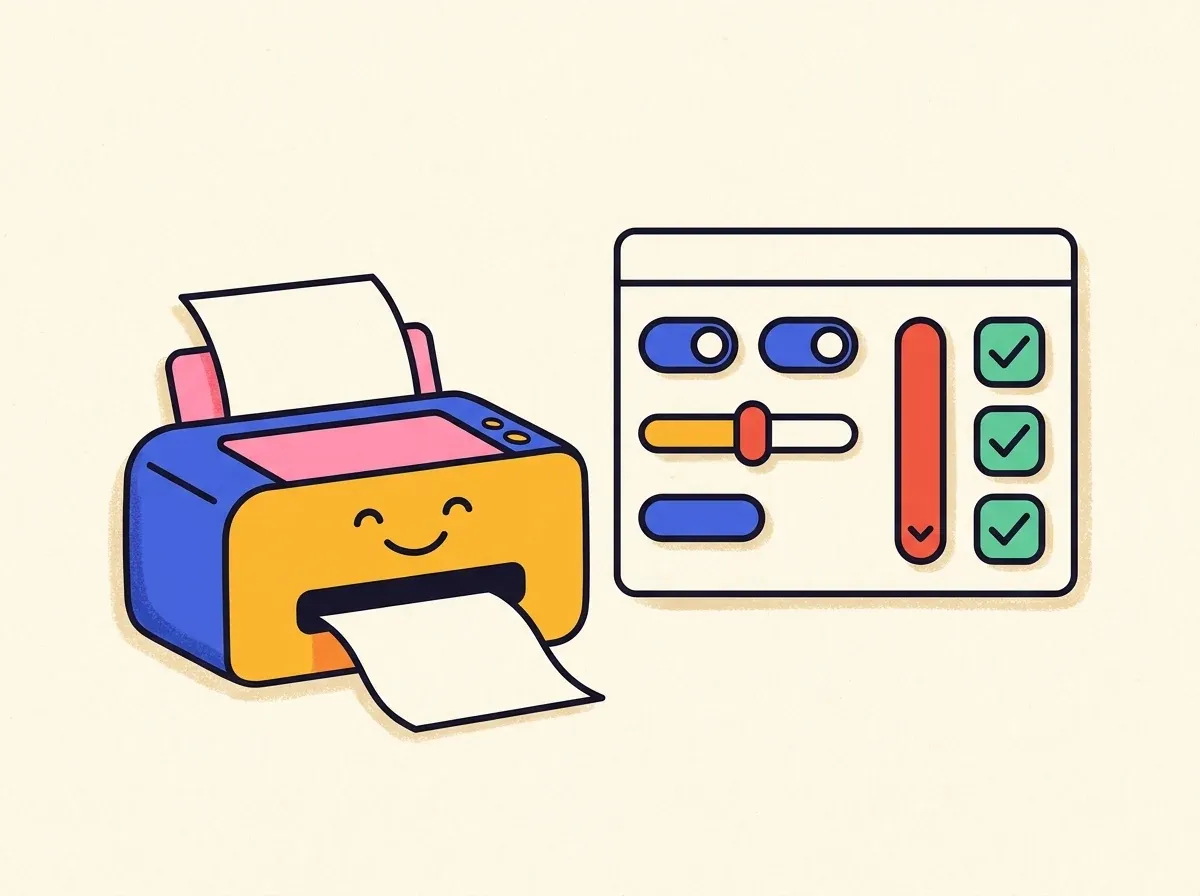
Scale: choose "Actual size" or 100%. Avoid "Fit to page" unless the artwork is being cropped. It can shrink the design and leave uneven margins.
Quality: use "Standard" or "High" for pages you'll keep. High quality gives darker, cleaner outlines, which matters most for bold-line coloring pages.
Paper type: match it to what you loaded. Selecting "Plain Paper," "Matte" or "Cardstock" tells the printer how much ink to lay down. The wrong setting is a frequent cause of smudging or pale lines.
Color: choose "Grayscale" or "Black only." Coloring pages are black line art, so there's no reason to use color cartridges. This is also the biggest ink saver (more below).
Orientation: Most pages print in portrait. If a design looks sideways in the preview, switch to landscape.
04Step 3: Save ink without ruining your pages
Bold-line coloring pages already use little ink, because most of the page is white. These habits stretch it further:
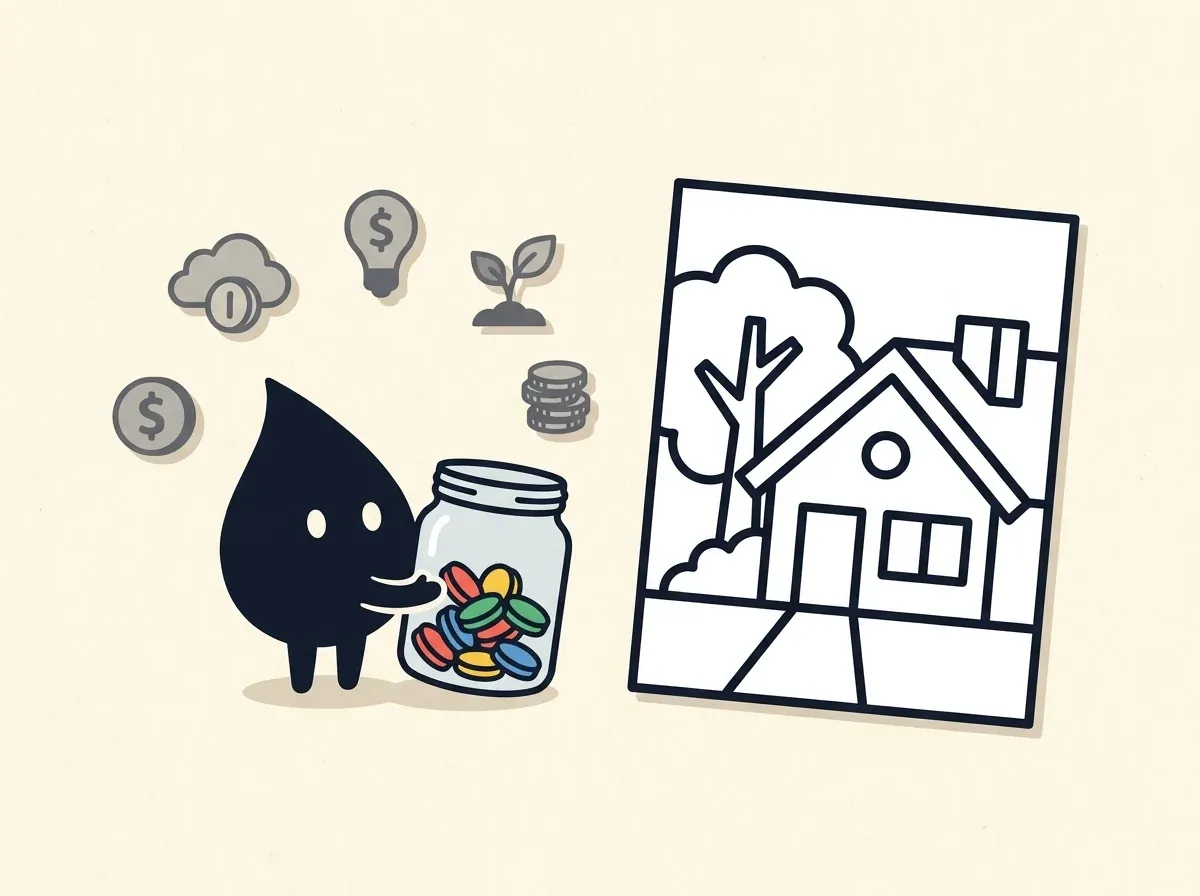
- Print in grayscale or black-only mode. This stops the printer drawing on colored ink for black lines.
- Use Draft or Eco mode for practice pages. Lines print lighter, which is fine for testing a color combination before you commit to your good page.
- Print only the pages you'll color today. Use the page-range option (for example, "3-5") instead of the whole book.
- Reprint instead of reworking. If a page didn't turn out the way you hoped, print a fresh copy. That's the advantage of a digital book.
- Consider a copy shop for big batches. If you're printing a whole book for a class or party, a local print shop's laser printer can cost less per page than home inkjet ink.
05Step 4: Laser or inkjet?
Either works. Here's how they differ for coloring pages:
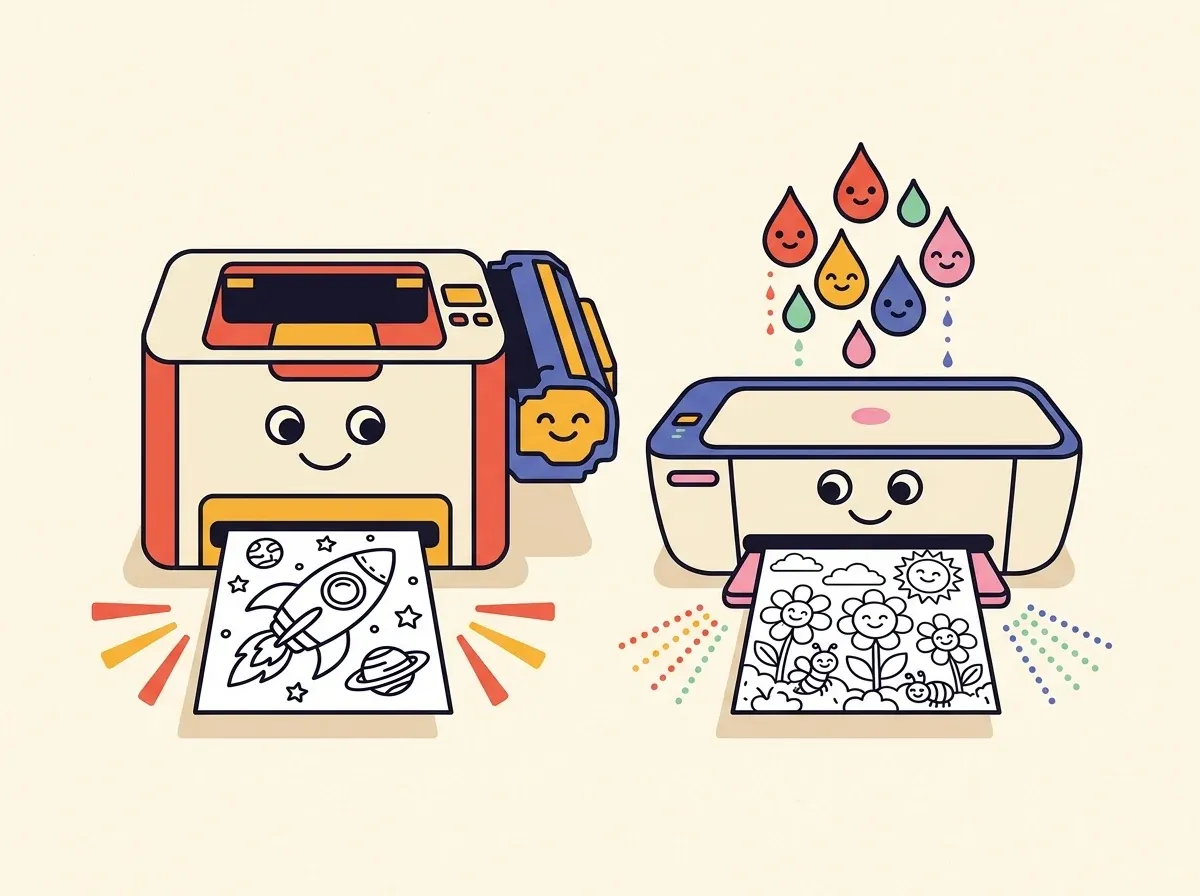
- Laser printers produce sharp, dark black lines and the toner doesn't smear when wet. They're a good fit if you color with alcohol markers or water-based pens.
- Inkjet printers are common at home and print well on thicker paper. Some dye-based black inks can smear when markers pass over them, so test one page before coloring your best design. Printers with pigment black ink usually resist smearing better.
If your lines smear, wait a few minutes for the ink to dry fully before you start coloring.
06Fixing faded or streaky lines
Faded lines are the most common complaint. Work through these in order:
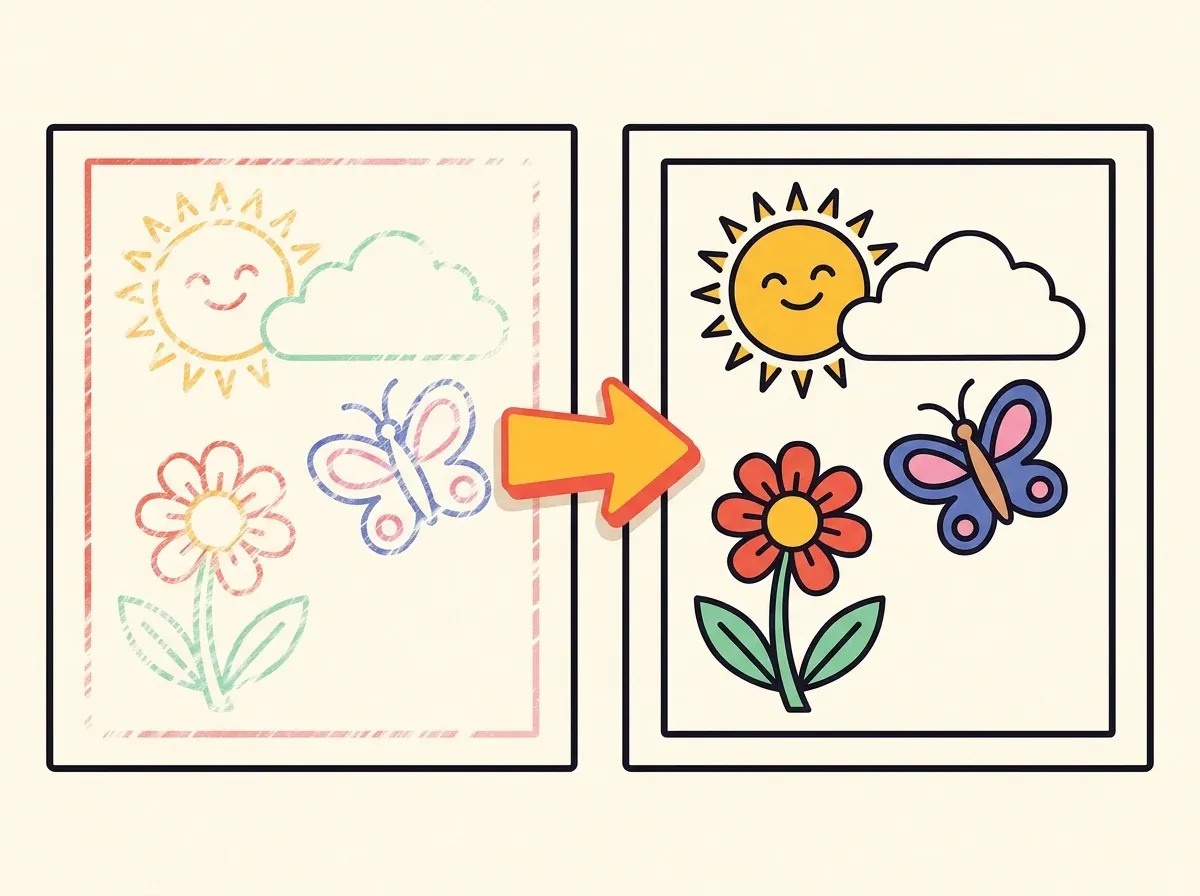
- Check the quality setting. If it's on Draft or Eco, switch to Standard or High.
- Check the paper type setting. It should match your paper.
- Run a nozzle check (inkjet). Most printers have this under maintenance. It prints a test pattern so you can see if any lines are missing.
- Run a head cleaning cycle. Then print the nozzle check again. Don't repeat cleaning too many times, since it uses ink.
- Check ink or toner levels. Black ink running low shows up as pale lines first.
- Laser printers: Remove the toner cartridge and gently rock it side to side to redistribute the toner, then reinstall it.
If horizontal lines or gaps persist after cleaning, the cartridge may be empty or the print head may need replacing. Your printer's support page will have the exact steps for your model.
07Fixing bleed-through
Bleed-through happens when marker ink soaks through thin paper and marks the page beneath it, or shows on the back of the sheet.
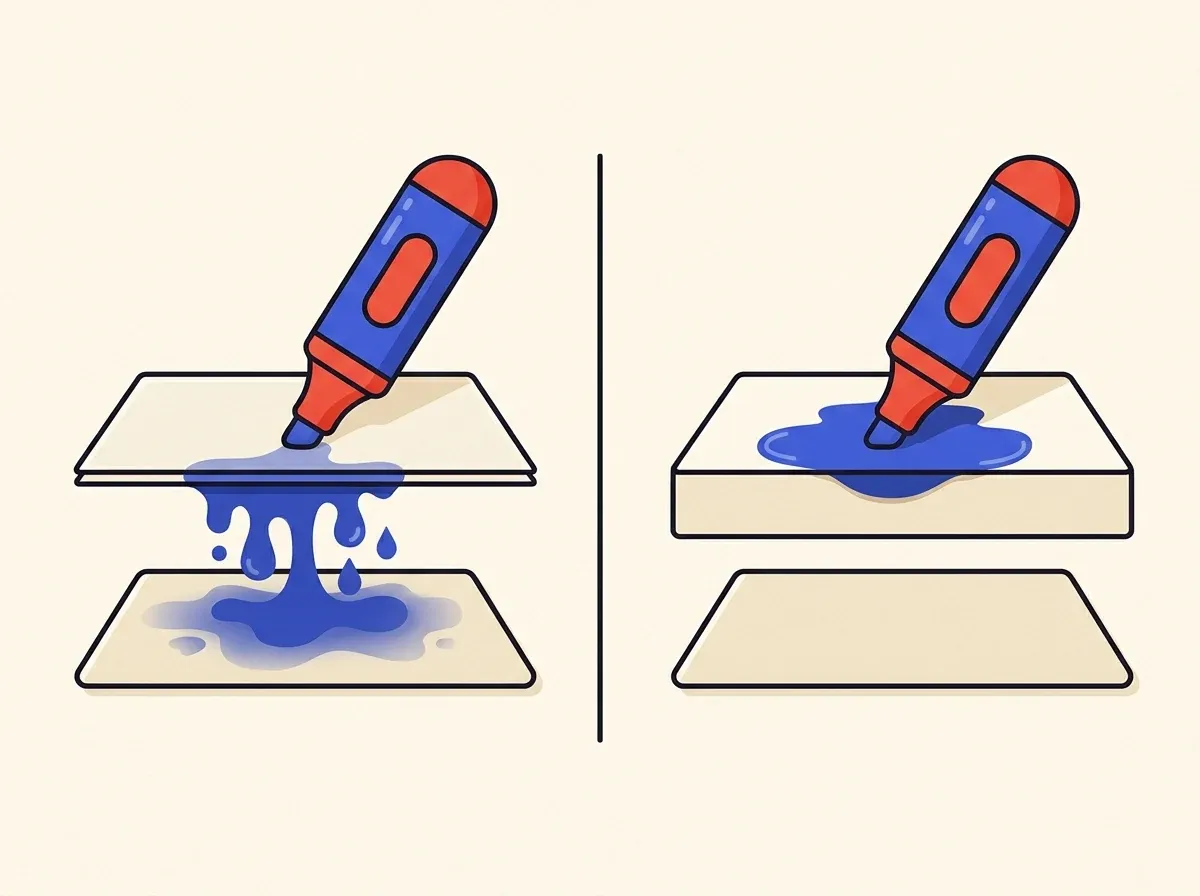
- Use heavier paper. Moving from 80 gsm to 120 gsm or more makes a big difference.
- Put a protective sheet underneath. A scrap page, a cardboard backing or a thin plastic folder keeps your table or the next page safe.
- Color on one side only. Print single-sided and leave the back blank. If you print on both sides, markers will show through to the reverse design.
- Use less ink per stroke. Light, quick strokes soak in less than slow, heavy ones.
- Switch tools. Colored pencils, crayons and most gel pens rarely bleed. Alcohol markers are the biggest culprit on thin paper.
08Tips that make printing easier
- Keep a "favorites" folder on your computer so you can reprint a page quickly.
- Use a clipboard or hardcover book as a lap desk so the page stays flat.
- Store unused pages flat in a folder. Humidity makes paper curl, and curled paper feeds badly.
- Print on both sides only if you plan to use thin tools, such as pencils, so nothing shows through.
- Hole-punch finished pages and keep them in a binder to build your own coloring book.
09Quick troubleshooting table
| Problem | Likely cause | Fix |
|---|---|---|
| Pale lines | Draft mode or low ink | Switch to High quality, check ink |
| Horizontal streaks | Clogged print head | Run nozzle check and head cleaning |
| Smearing | Wet ink or dye-based black | Wait to dry, test pigment or laser |
| Cropped edges | Wrong scale | Use Actual size, check preview |
| Paper jams | Stock too thick | Check max paper weight, feed one sheet |
| Page curls | Humidity or heavy ink | Store flat, use heavier paper |
010Frequently asked questions
What's the best paper for printing coloring pages?
For most people, 90-120 gsm printer paper offers the best balance of cost and quality. Use heavier paper if you color with markers.
Can I print the same page more than once?
Yes. For personal use, you can reprint any page from your digital book as many times as you like.
Do I need a color printer?
No. Coloring pages are black line art, so a black-and-white printer is enough.
Why do my lines look lighter than the preview?
This usually comes down to Draft mode, a low-ink cartridge or a mismatched paper type setting.
011Ready to start printing?
Try a few pages first with our free sample set: get 5 free pages. When you're ready for a full book, browse the shelf for bold, easy designs for kids and adults. Every book is an instant PDF you can print as often as you like. You can also pick a book and check out here.